Avocado dye – perfectly natural pink dye process indigowares blog
Avocado pits can create the most beautiful natural pink dye for fabric. The Indigowares blog talks through the whole process to make natural avocado dye.
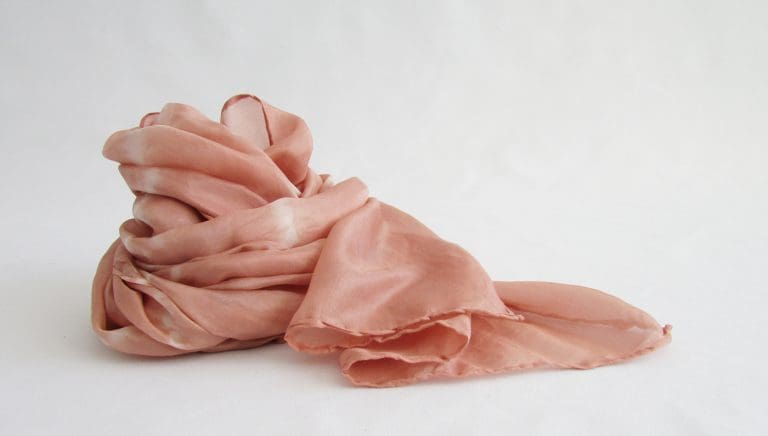
As a trained textile designer more known for my indigo dyes, I have enjoyed experimenting with avocado as an additional complimentary colour in my range of hand-dyed fabrics.
Unusual shade for the green avocado
“Then in the sky a pinkish hue broke through the dark” Judith Kerr, One Night in the Zoo
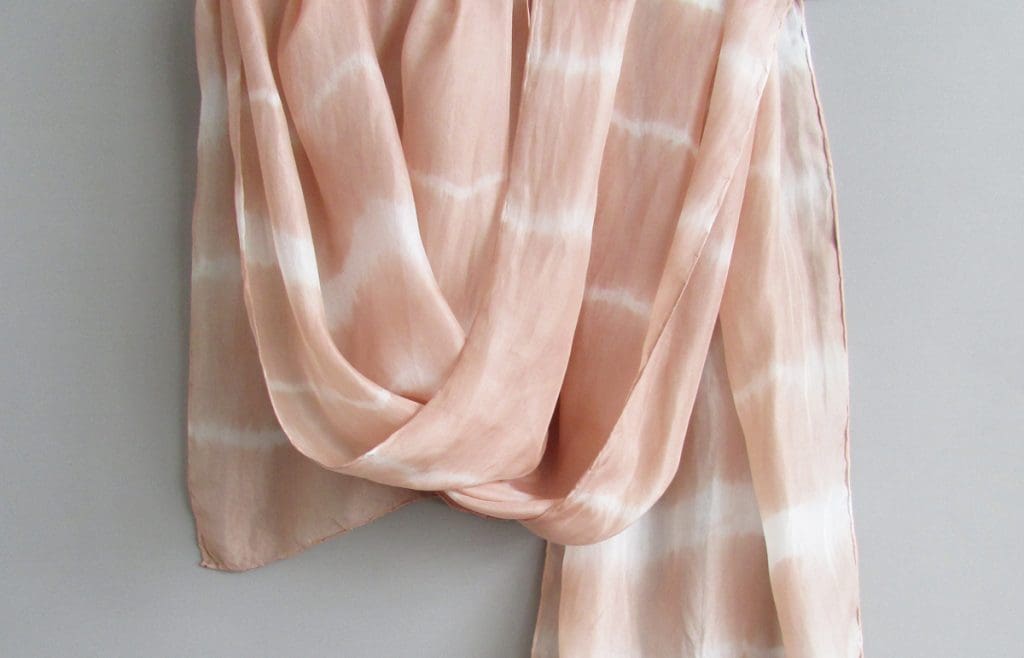
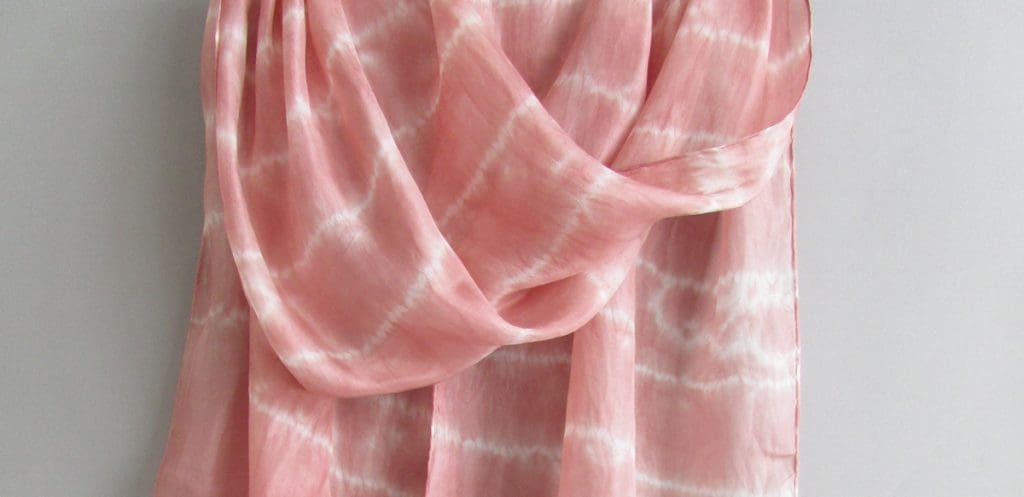
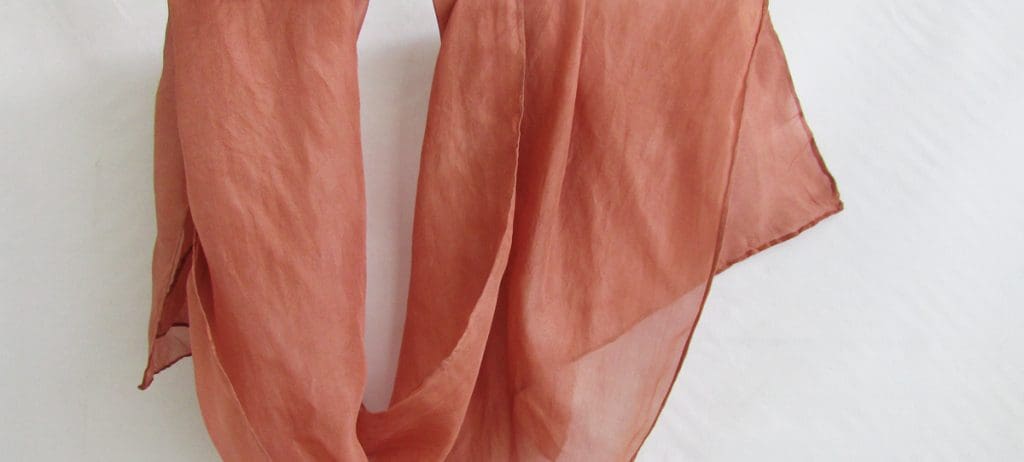
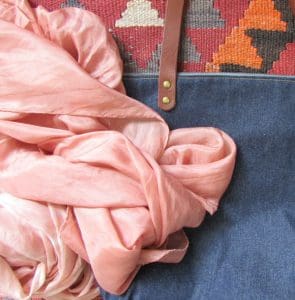
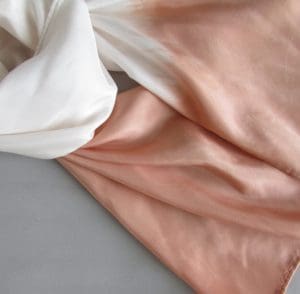
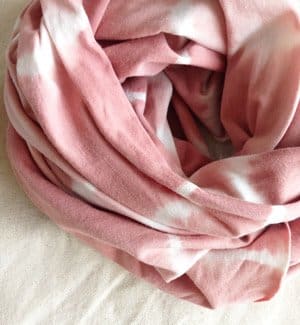
The depth of colour that natural avocado dye creates varies depending on how long the fabric is soaked for, and whether the dye is created using purely the avocado pits or also the skins. It can be a delicate soft pink “off-white” shade, through to a stronger salmon pink colour. Mind you it can also vary according to freshness of avocado, where it has been grown and also the water ph you are dyeing it in. So many variables that its best to just have a go and make a note of what type of avocado you use and build a record. Generally the fresher the avocado the brighter the colours, so for me personally I usually freeze them until I have enough.
For my own clothing items, whilst every item is unique, my current Botanical Colours Blouse with avocado extract starts off a delicate peachy pink shade.
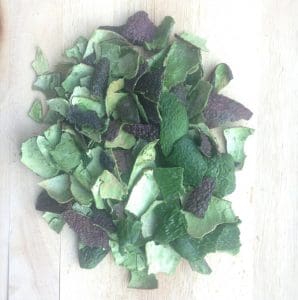
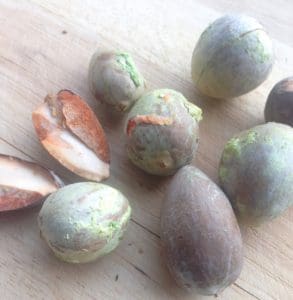
Avocado dye, making the most of the whole fruit for sustainability
I think one of the things I really like about avocado dyeing is being able to use the by-product of the avocado. It’s really become a popular food over the last few years and can be found “smashed” on most café menus. As it’s not grown locally and comes from places like Mexico, Colombia and Spain. I love the idea that we can use the whole fruit to really make the most of it. As I mentioned before, you can build up your avocado store in the freezer until you are ready to make the dye, drying them after washing is also an option, just leave to dry in a saucer on your windowsill then store in a brown paper bag or an alternative could be to approach a local café and ask if you can help them reduce their waste and impact on the environment.


The other great thing is that once you have finished with your dye, the water is perfectly safe to use on the garden. If you choose to add bicarbonate soda to make a stronger pink colour, your alkaline plants such as hydrangea and geranium will really benefit from it too.
How to dye your fabric with natural avocado dye
One of the benefits of dyeing with avocado is that no mordant or fixative is needed to hold the colour and ensure its colour-fastness. A mordant is a plant or metal-based fixative that is often used to extend the colour and wash fastness of natural dyes. Avocado pits or stones contain tannin in them so they act as the fixative. But I find it just yields better results to use a mordant. I used aluminium acetate. You can also use a soy milk mordant too. By using a mordant it will make the fabric colourfast and hopefully give us amazing colour.
A mordant is a chemical or natural agent that will stick fast to both the fibres and the dye.
Step 1 – Get prepared
To start experimenting with avocado as a natural dye you will need two stainless steel pots, some pre-washed natural fibre such as linen or organic cotton and some tongs.
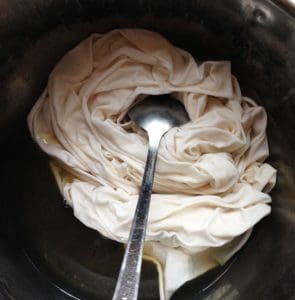
So to begin, I filled a large stainless steal cooking pot with water and added soda ash to help the scouring process. Then added my organic cotton bamboo jersey to the water and brought to a continuous simmer for roughly 2 hours. By the end of the time all the dirt that was hidden in the seemingly clean cloth has been washed out.
You don’t have to do this process and could just wash in the machine at the hottest setting advised for your fabric. By scouring using the first method you will remove all dirt and have a smoother final colour. It’s up to you. Try both and compare.
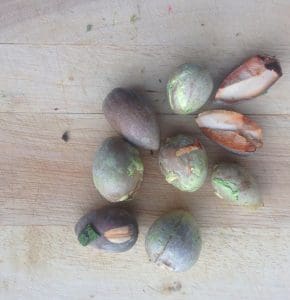
Collect your avocado pits and peel. You can store these in the freezer until you have enough to make the dye. If you are only collecting avocado pits then it’s not necessary to put them in the freezer, they can dry out in the kitchen if you prefer. The best way to work out how many pits to start with is to weigh your fabric, you can do this with a normal digital kitchen scale. A rough estimate to aim for is 15-20 avocado pits per kilo.

Step 2 – make the natural avocado dye
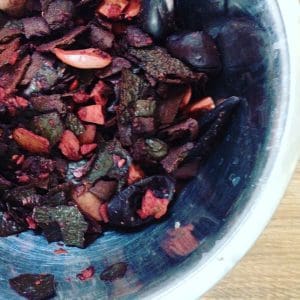
Put your avocado pits and skins into the pot and fill the pan with water. Bring it to a slow simmer, this helps kill any bacteria from the avocados. It is a test and see process, after a few hours dip a paper towel into the dye to check on the colour and then turn the heat off again. You can repeat this process multiple times over the course of a couple of days and add more pits if you want as you go. Be careful not to over-heat the dye as it will turn the colour brown.
Once it’s closer to the colour you are aiming for, add a little bicarbonate soda to the dye to make a redder shade, or alternatively you can experiment with adding white vinegar for a more yellow shade.
Another alternative that I use more and more is to strain off the dye and start again. Discard the old dye and heat up the skins and pits again with fresh water and repeat process. This will give a cleaner tone second time around. There is a lot of dye to give in the skins and especially pits. So don’t be worried about starting again.
Meanwhile, soak your fabric in cold water, removing any air bubbles and making sure all the fibre gets opened up by absorbing the water, this will give a more even colour when it comes to the dyeing step.
Step 3 – remove any lumps or grainy bits
At this point ideally you will move outside to avoid any dye splashing on your furniture! Strain or sieve the dye into your second pot to remove any bits or dirt so that they don’t stick to the fabric.
Step 4: Let the magic begin, add the natural fabric to the pot
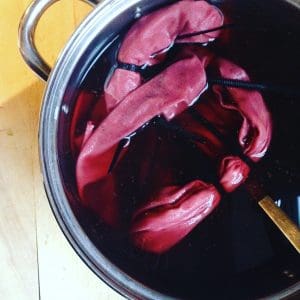
Add your fabric to the pot and make sure that it is fully submerged. You can do this either as a cold or warm process for this step. If you want to heat the water, again keep the temperature very low. Use your tongs to get the water moving round the fabric and again keep repeating the process over the course of a day until you are happy with the colour of the cloth.
Step 5: Checking for the final colour
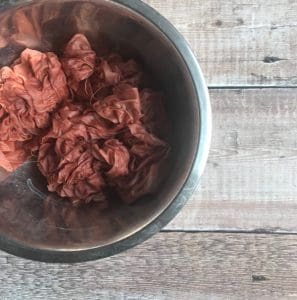
Hang the fabric to dry. Now, if you haven’t mordanted it, if possible, leave it for a week before rinsing, then dip it in warm salt water for a few minutes to fix the colour. But if you did then you can rinse straight away.
I have also seen other designers put their fabric in a gentle wash also so that they know what the final colour will be and can check for colour-fastness.
Let me know if you experiment with avocado as a natural dye
As avocado is a readily available ingredient, you may find this a great starter colour to try if you have never used natural dye before. This is just a tip of the iceberg! there are so many levels and variables, no right or wrong way. Just have a go and have fun with dyeing naturally.
I’d love to hear if you try avocado out and what success you have! Once you have had a few goes, it is possible to experiment further with some extra colours. For example, I have talked before about dyeing with onion skins. Post your efforts on Instagram with #theindigowares and I will share on my stories, or drop me an email. Or you can also sign up to my Blue News letter and hear all my latest blog posts and collections.
When I do do a collection of avocado dyed silk scarves and blouses 10% of all my sales goes to the amazing Pink Ribbon Foundation who help and support a wide range of charities and organisations in their fight against breast cancer. It’s a relationship that is in its second year now and I love being part of their pink story.
Thanks for reading my blog x
Heres some examples of avocado dyed silk and the shades that you can achieve.
