Eco printing and bundle dyeing are natural printing processes that uses botanical dyes found in leaves, dried or fresh flowers, herbs, some food waste and natural dye extracts.
We love dyeing textiles with these natural materials, plus it’s another step forward for Indigowares in innovating new ways to bring you timeless styles through traditional natural dye practices.
Part of the beauty of creating textiles with these materials is their lifecycle, which we extend by working with them to create something new from something that will soon return to the earth. For us it’s the perfect method, as one of our biggest goals at Indigowares is to reduce our environmental impact by only creating garments that are friendly to the earth and give back to it.
The eco printing techniques that this collection highlights use only materials that come from the earth. This means they are safe to work with, safe to wear, and safe to put back into the earth once they reach the end of their lifecycle. And with the quality of our garments, they should be with you for a long time!
The use of natural elements to create a print on fabric can be traced back to the Middle Ages, with the creation of herbalism. There are even records of botanical printing in pharmacological manuals from Ancient Greece.
The modern eco printing process was pioneered by India Flint, a globally renowned textile artist from South Australia. Her book, Eco Colour : Botanical Dyes for Beautiful Textiles was released in 2008. This is an amazing handbook for the eco printing methods that she developed, and was a huge step in making sustainable patternmaking accessible to all.
There a great deal that goes into the process of eco printing: the preparation of the fabric in itself takes time in order to get the colours to set and be colourfast. Since there are so many hidden parts of the process, I wanted to share a step-by-step look at everything that goes into creating your one of a kind, naturally dyed garments.
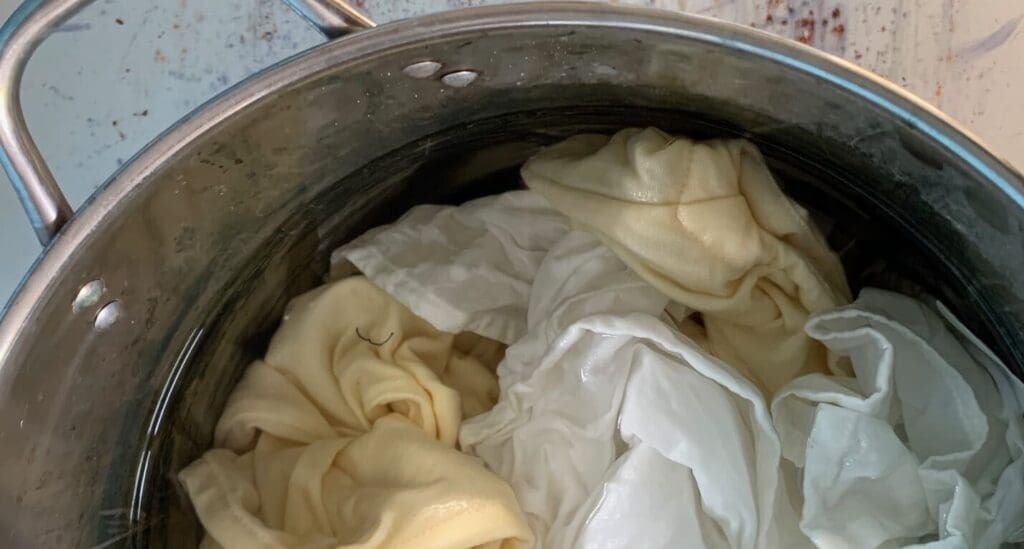
First, we prepare the fabric to be dyed through a process known as ‘scouring’. This cleans the fibre of any grease and grime that has become attached during production or storage. Scouring is important as it allows the dye to take well, and results in smooth clean colours. In this process, the fabric is washed then left to sit in boiling or simmering water for about an hour.
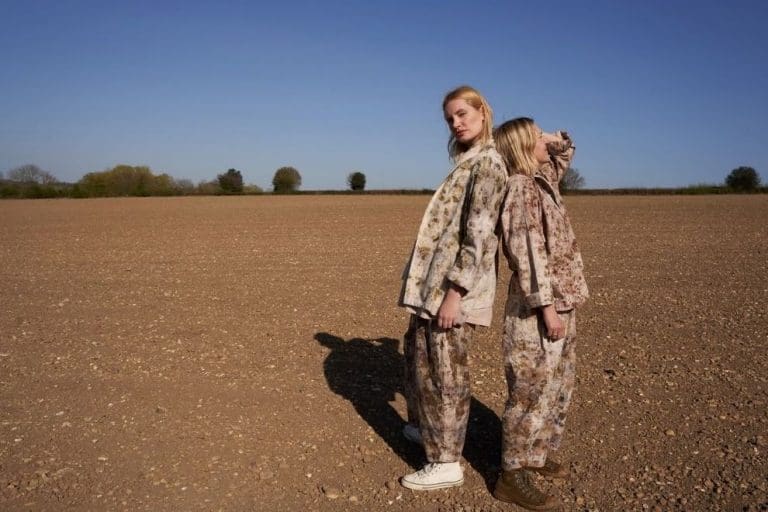
After scouring, the fabric is then passed to our seamstress, who sews it into the style of the garment that we are making. They cut and sew our made-to-order garments— like those in the Botanical Collection— locally from the studio in St. Albans, Hertfordshire.
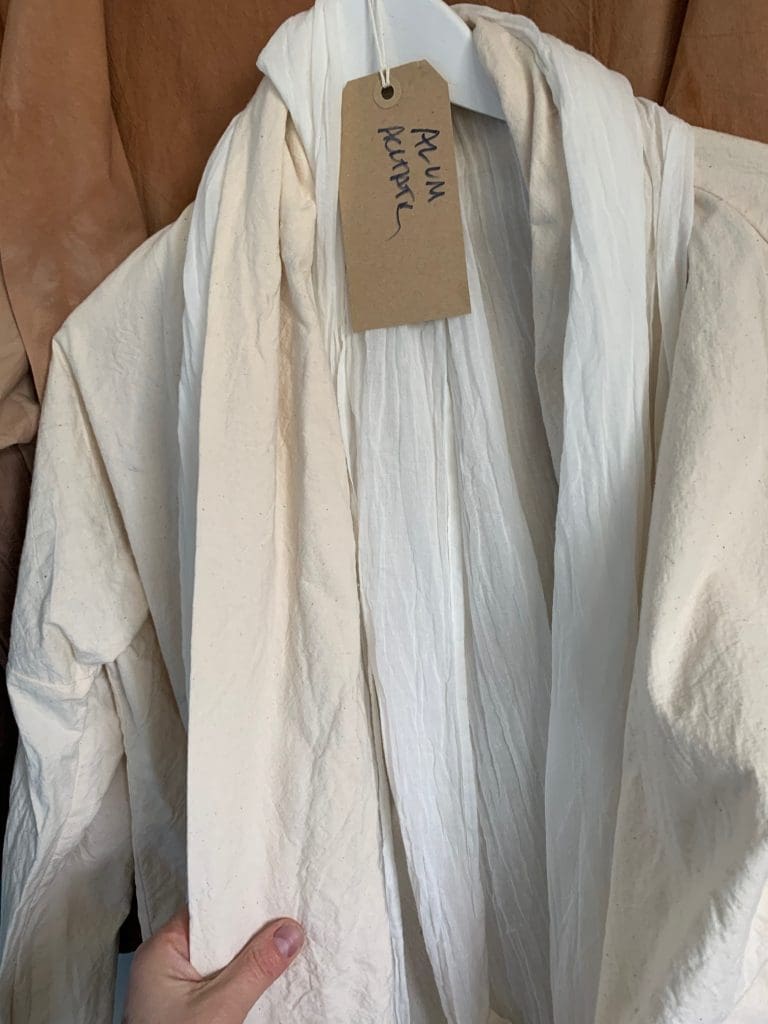
Mordant is a solution that helps bond dyes to fibres. Mordanting the fabric helps it to become colourfast, allowing it to hold onto the colour once dyed. In order to prep our fabric, I use alum lactate as a mordant. Alum Lactate is a substance derived from by-products of the UK sugar industry, maize, or starch derivatives. Different mordants, fabrics and water temperatures require the fabric to soak for varying lengths of time— for our garments, I allow the fabric to sit in the mordant for around a day.
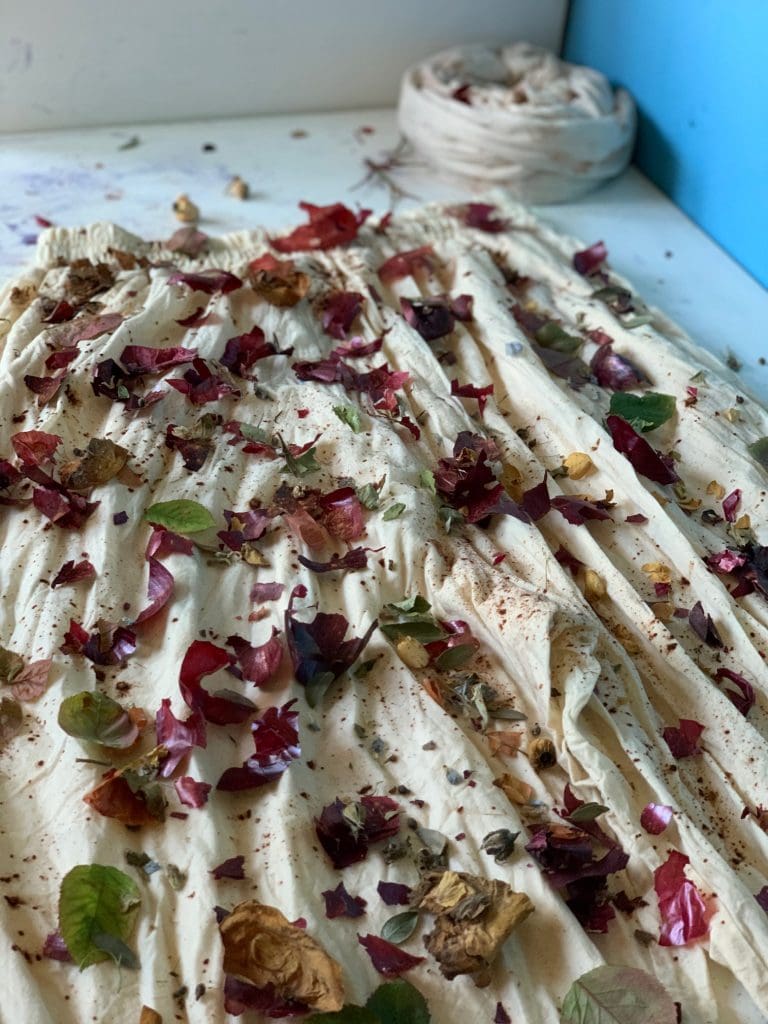
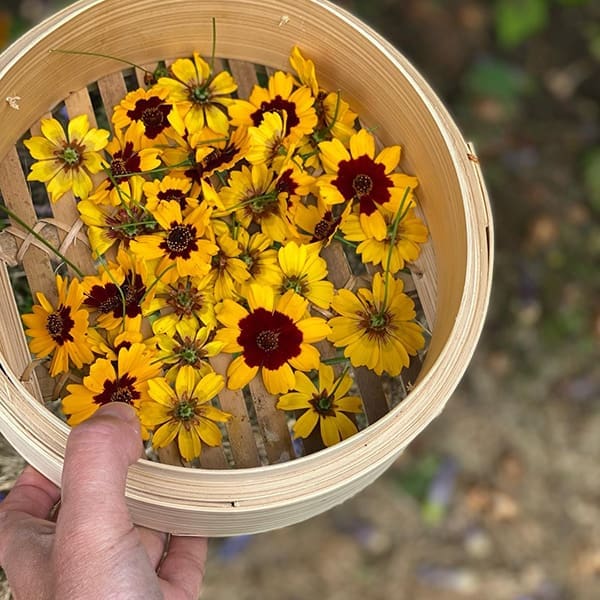
After a day goes by of soaking the mordant has done its job, it is rinsed briefly and wrung out. I then lay the garment out to cover it with the natural elements that will create the pattern. This photo of our undyed trousers covered in natural material is from one of our first eco printed collections, which we called the Botanical Energy Collection. The natural elements seen are mostly red onion skins, cutch, madder and rose leaves.
This photo is a particular favourite of mine, and one of the reasons I love sharing details of the eco dye process with you… it’s like a textile garden! It really demonstrates the beauty in every step of eco printing. Even better, you get to carry this beauty everywhere you go when you wear an environmentally friendly garment.
After covering the garment in natural materials, it gets rolled up tightly and tied like a swiss roll type bundle that is tied tightly (as you can see in the image below). In order to bind the botanical inks into the fabric, the garment is steamed for an hour, then allowed to cool.
Once cool they have all the botanical leaves and skins shaken off, rinsed in cold water and then washed at 30 degrees in the washing machine to confirm colourfastness.
…and that’s how it’s done!
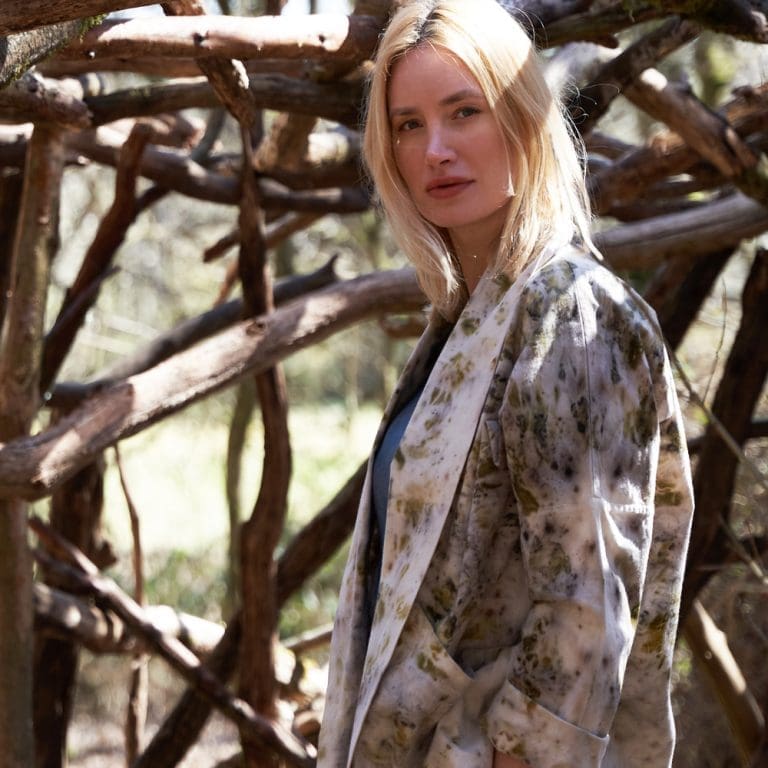
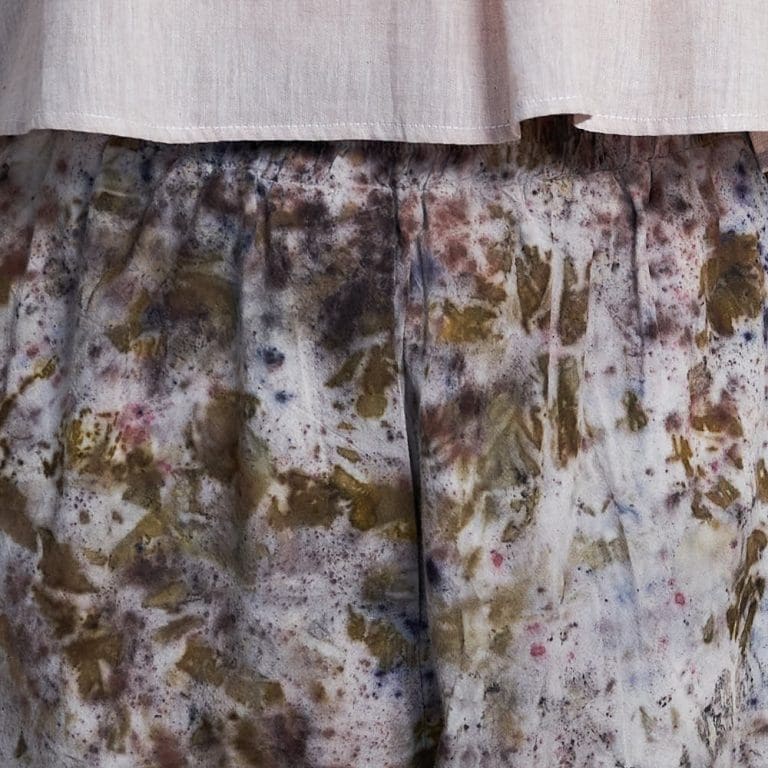
The unique pattern that you see on the fabric in this image is created using red onion skins, rose leaves together with cutch and madder extract sprinkles. It just goes to show the beauty that comes from us, working with nature instead of against it.