Step by Step Screen Printing the Sustainable Way
With the popularity of our screen printed big bandanas (plus a whole bunch of new designs ahead) I figured it was about time that we do a blog all about screen printing.
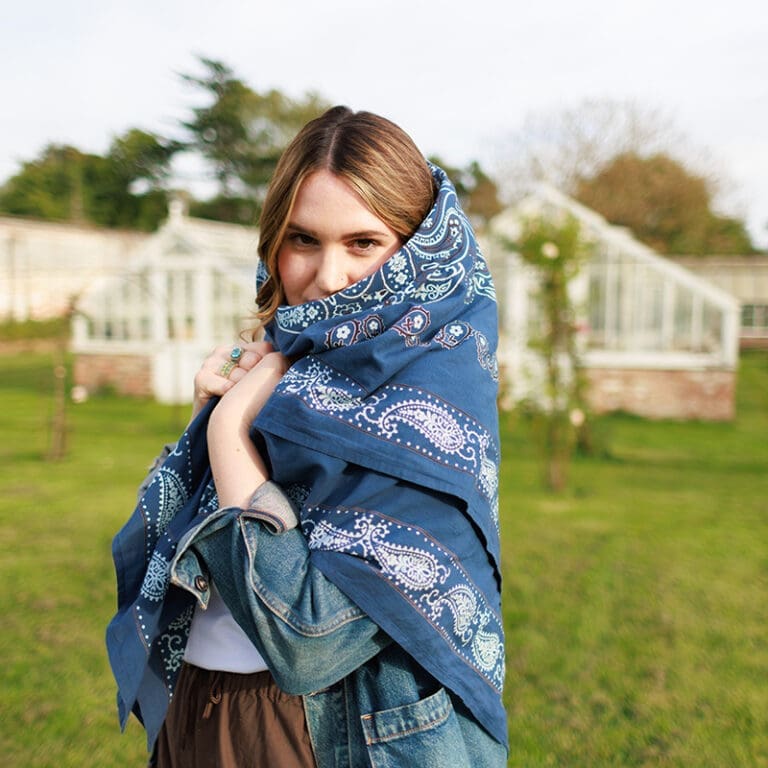

Screen printing is something really close to my heart. Way back when I was in my 20s, I worked in a screen printing studio, creating conceptual prints for the menswear T-shirt and denim industry.
Of course when deciding how to execute a design, you have to consider a few more aspects than just using the methods that you love – a lot of the time you let the design lead as you figure out what textile techniques will make it come to life.
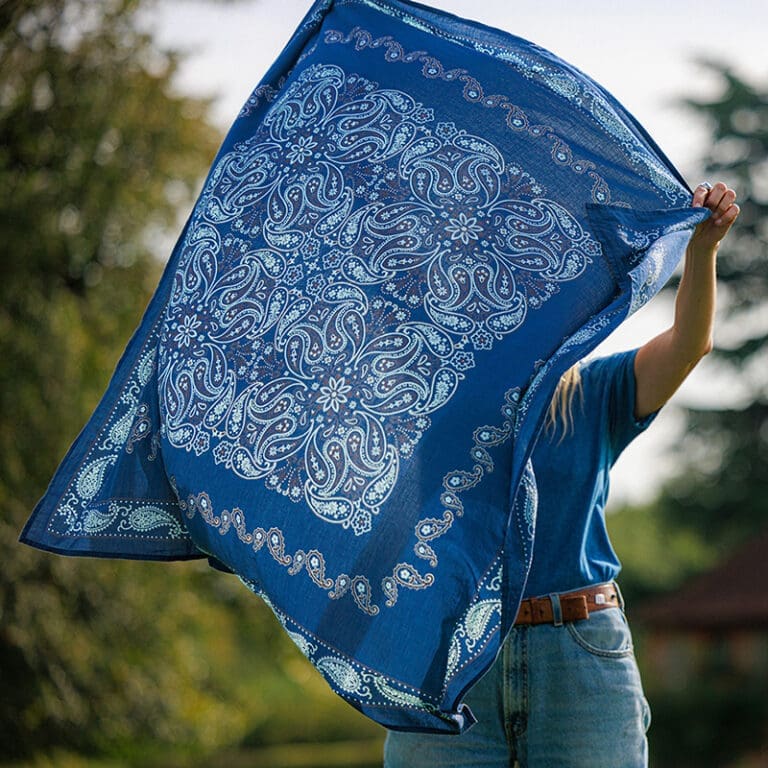
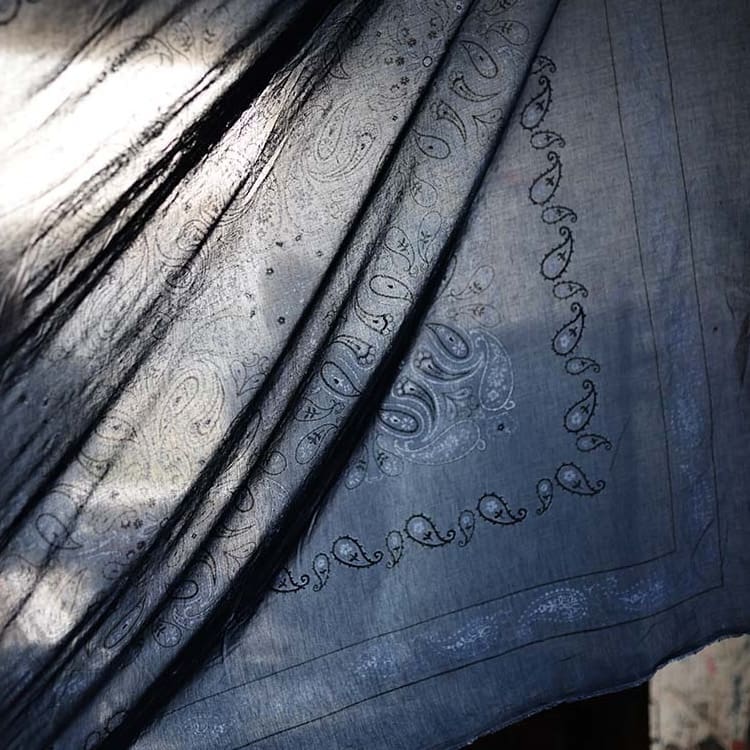
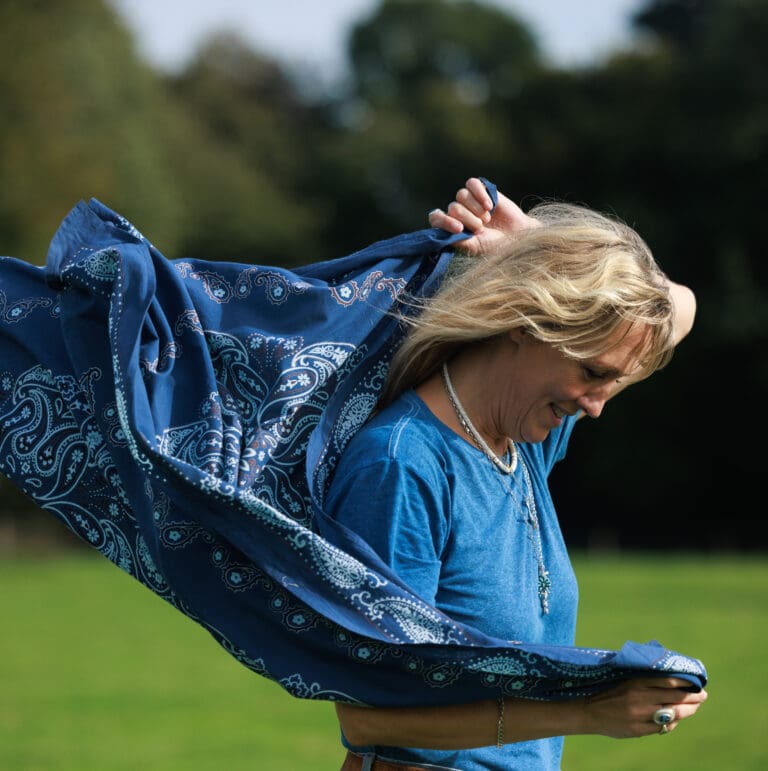
When we created the big bandana, I finally found the chance to incorporate screen printing into a classic Indigowares accessory. We started by having a look at different printing options because the design is such a big paisley with so many different elements to capture. We needed a technique that would create the pattern smoothly and accurately, which is why we landed on screen printing.
For the big bandana, we selected a beautifully soft organic cotton voile. Then we dyed and printed with azo free eco-friendly inks. Take a look at this video we’ve made, which gives you a glimpse of what goes into a screen print.
For the big bandana, we selected a beautifully soft organic cotton voile. Then we dyed and printed with azo free eco-friendly inks. Take a look at this video we’ve made, which gives you a glimpse of what goes into a screen print.


THE SCREEN PRINTING PROCESS
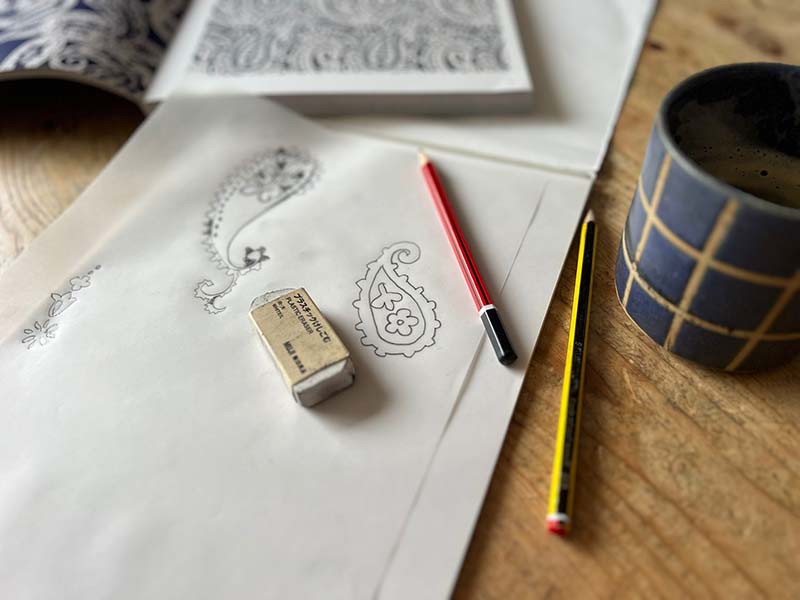
1. First the print is drawn and created.
Once the design is finalised, it is printed out onto transparent paper / acetate, then stuck all together.

2. THE SCREEN IS PREPARED
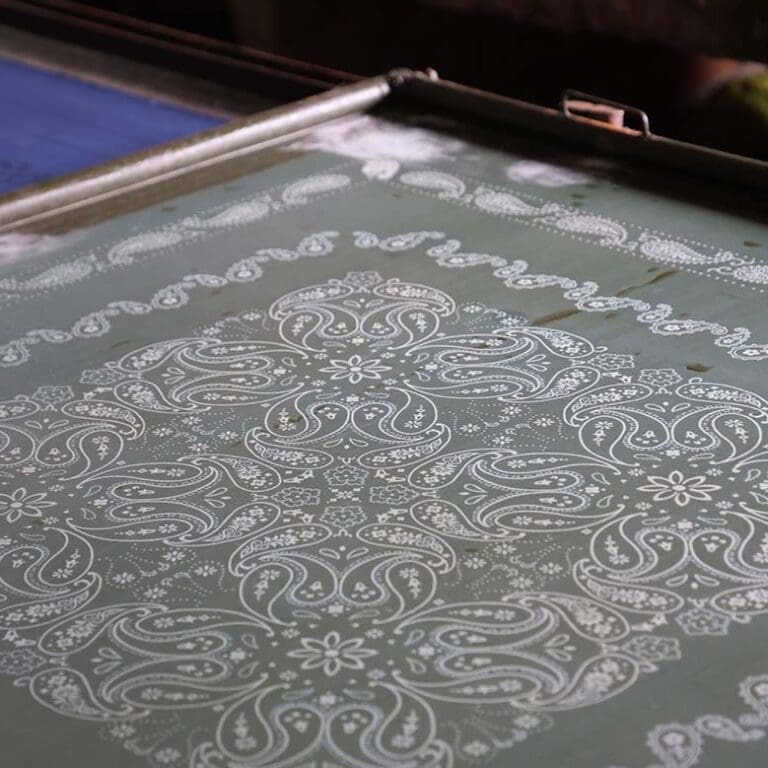
It is important that the screen is the right size. For example, our screen is over 120 m² square to accommodate our artwork and the boarder. The screen itself has a fine silk mesh stretched over a wooden frame. In order for the print to be done, the image has to be photographically transferred onto the screen.
First, the screen is stripped of any old pattern from previous printing. This creates a clean silk screen that can then be coated a the light sensitive solution, then left to dry so that you have a prepared blank canvas.

3. Now that you have the original artwork and blank screen, we take both over to a huge machine called exposure unit.
The artwork and the screen are placed face down onto the glass. A big lid is then lowered onto it, and then all of the air is sucked out so that the image and the screen are really compact. Once there is no air, the image is exposed, a bit like a photo photograph in a dark room. This takes about 30 seconds, then the setup is opened back up, taken out, and gently washed to reveal the exposed image of the artwork.
4. The artwork is taken to the print table and PREPARED
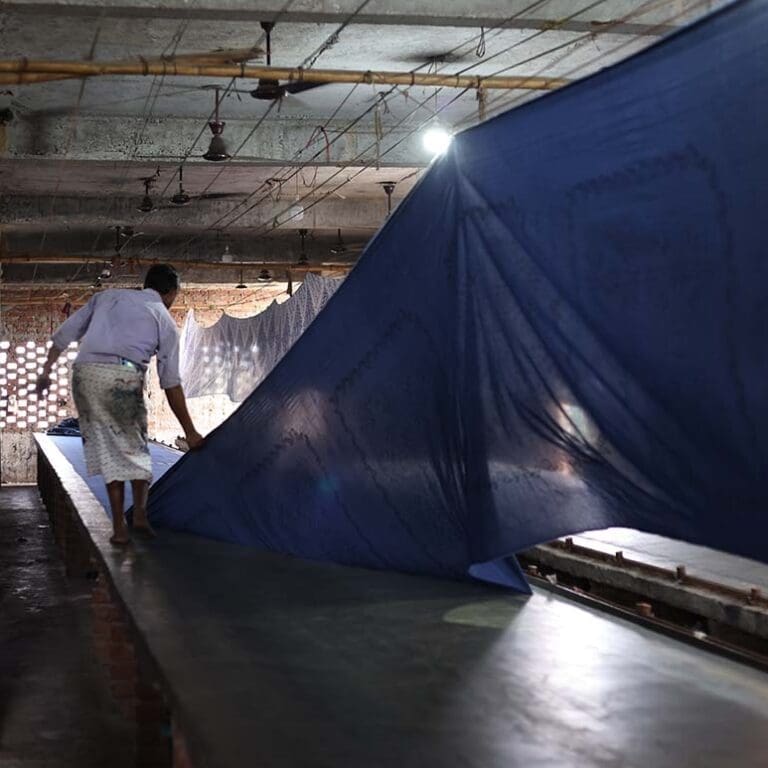

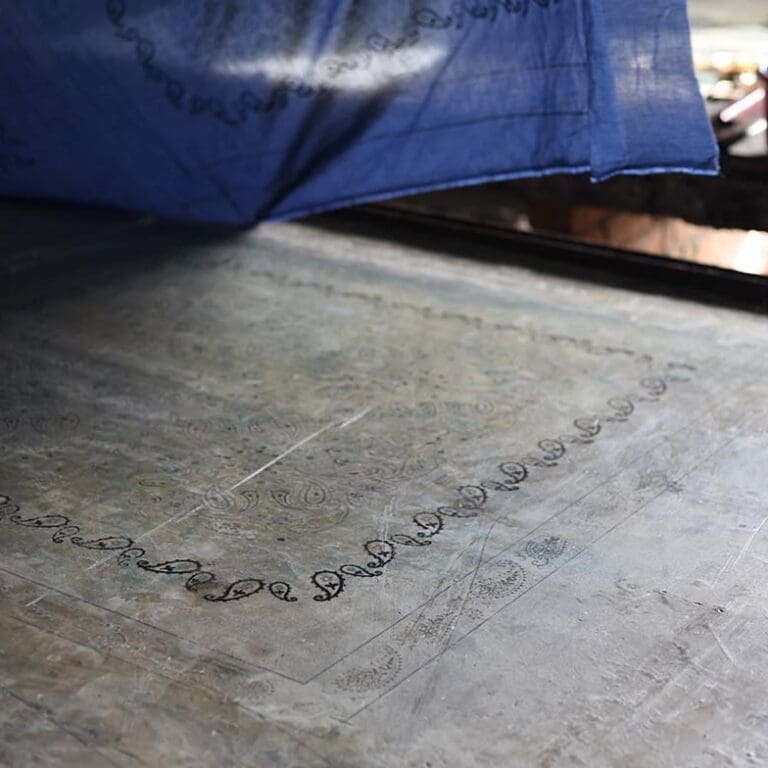
The print table is prepared, cleaned and ready. There’s a base cover on the work table, where the fabric is gently smoothed and edges stuck down with a special sort of waxy glue that washes away later.
The fabric is ready when there’s no air bubbles, no ripples, no crinkles, etc. It must be flattened all the way down the print table, so it’s just like super smooth long dinner table!
4. Once the fabric is perfectly placed, the printing process can begin.
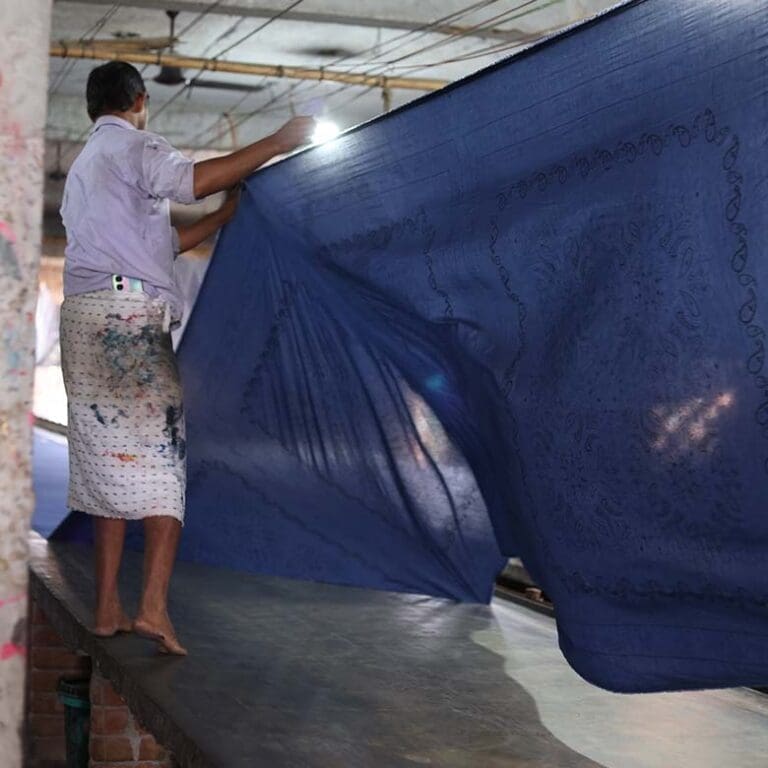
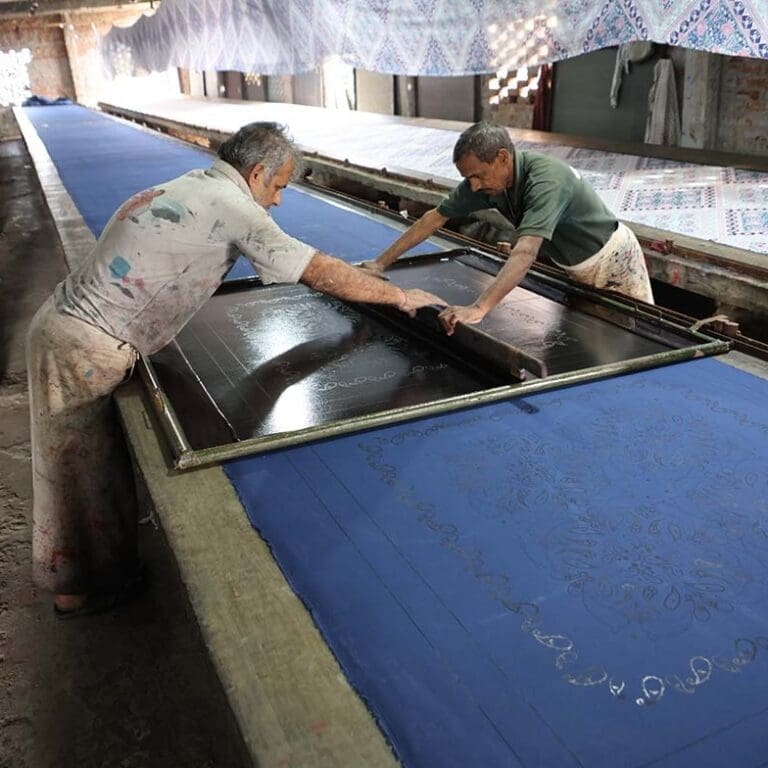
As you can see this in the video, this is a two man job. Of course there are all different levels and versions of this setup: different screen printing studios are set up in different ways (just a quick google search will show you this!). There’s many different incredibly technical screen printing factories out there. The screen printing factory that we use is located in Jaipur, India. Notice the two men in the video, as they place the screen where they’ve marked seamlessly in sync with one another.
The printers use a squeegee to pull across the printing inks up to three times. Once they are done, they gently lift it up and then they move on and do another one. They continue this process all the way across the table.
Next, on to another colour layer. Each layer must be allowed to dry before the next colour is applied on top. Once dry, the printers go back down the table, line up the screen, and print the next layer. If you look at how many colours there are in a screen print, that is exactly how many screens it’s taken to print the pattern.


Screen printing is such a beautiful and commonly used textile process – you might even be wearing one right now! Some screens are very simple, some more complicated, usually the price will reflect this.
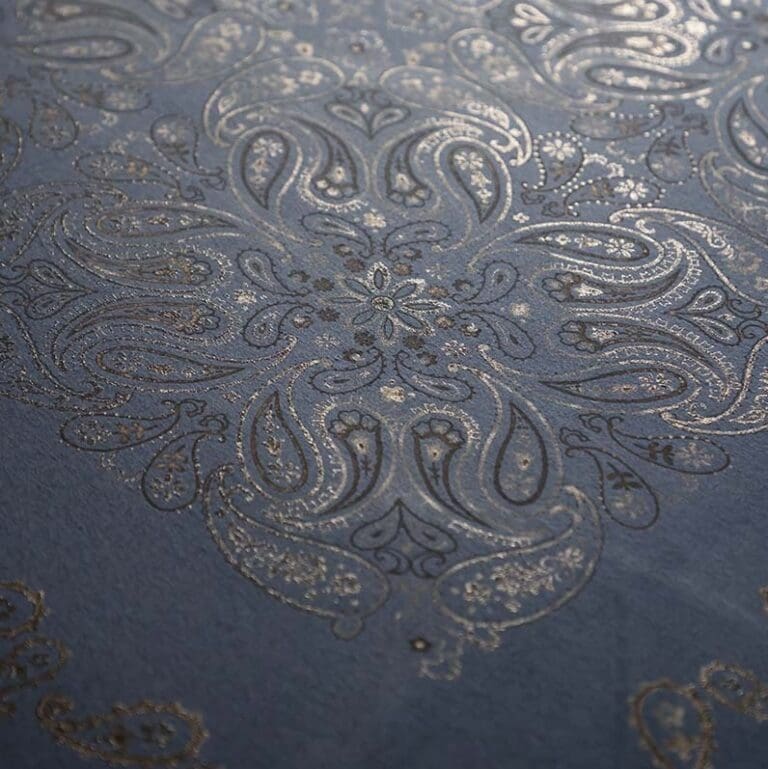

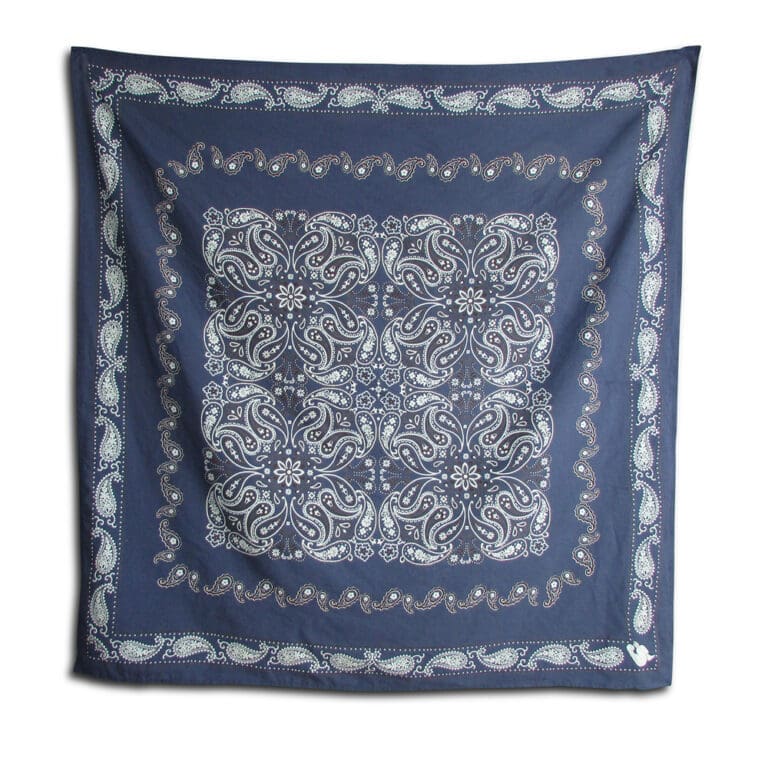






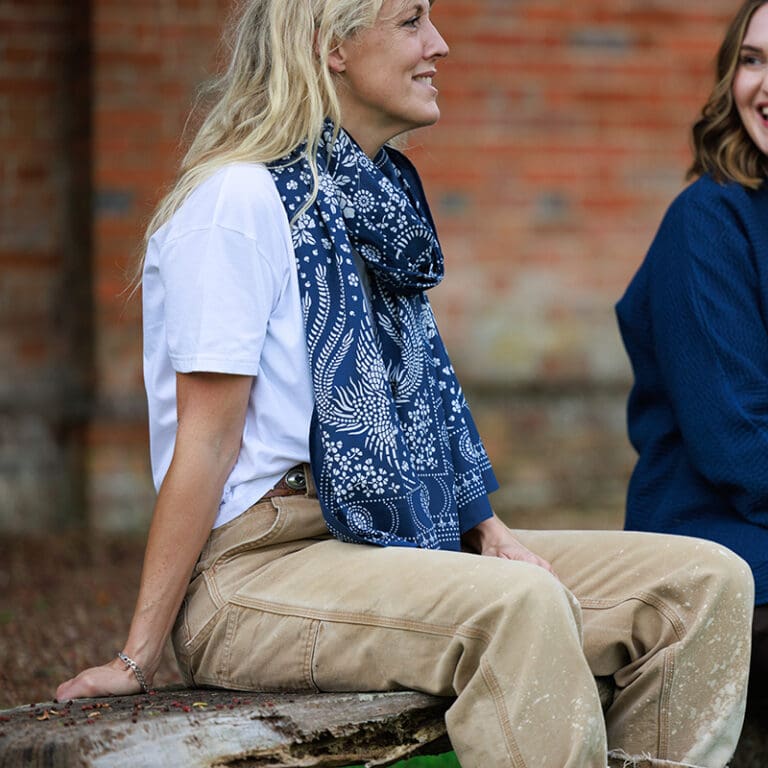

Screen printing is used to print onto everything from t-shirts to dresses to interior fabrics. And it isn’t only for wearable items! You’ll also find screen printed art prints, wallpaper and lots of graphic design applications, even cards and stationary. Screen printing is vital form of getting imagery onto a surface, and we’re so glad to share it with you.
